Manim 是3b1b開源的一個特別漂亮的數學動畫模塊。
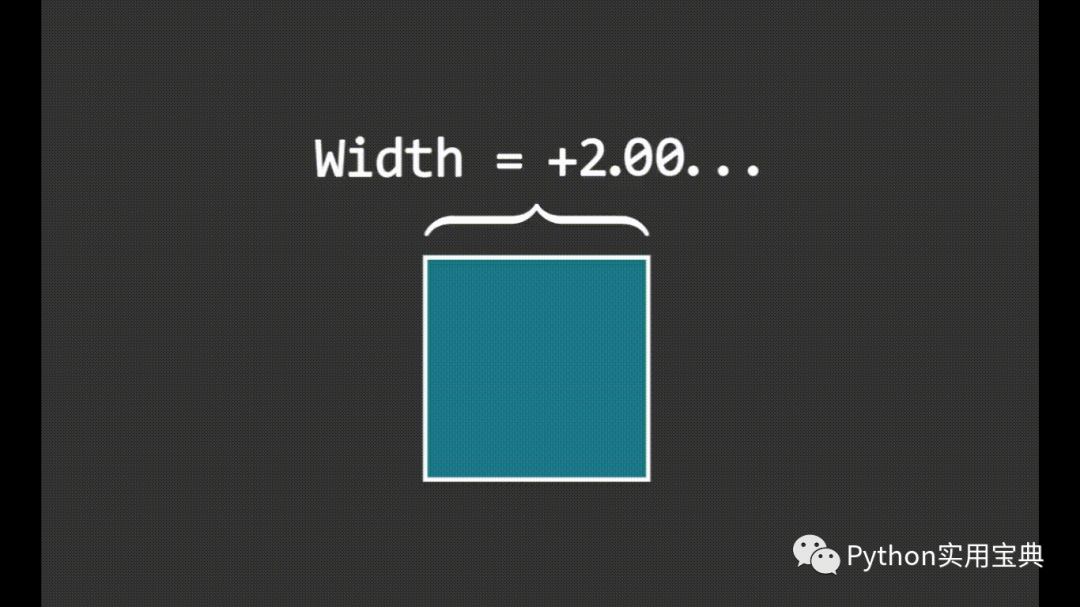
我們能夠基于Manim繪制許多解釋性的動畫,比如下面這個:
也支持函數圖像:

甚至是一些3D視圖和矩陣變換,Manim都可以輕易實現:
如果你是一個數學課程的演講者,或者你需要給觀眾演示某些數學公式的圖形,那么Manim就是你的不二之選。
Manim 支持 Python 3.7 及以上版本,推薦Python3.8.
1.準備
開始之前,你要確保Python和pip已經成功安裝在電腦上,如果沒有,可以訪問這篇文章:超詳細Python安裝指南 進行安裝。
**(可選1) **如果你用Python的目的是數據分析,可以直接安裝Anaconda:Python數據分析與挖掘好幫手—Anaconda,它內置了Python和pip.
**(可選2) **此外,推薦大家用VSCode編輯器,它有許多的優點:Python 編程的最好搭檔—VSCode 詳細指南。
請選擇以下任一種方式輸入命令安裝依賴 :
- Windows 環境 打開 Cmd (開始-運行-CMD)。
- MacOS 環境 打開 Terminal (command+空格輸入Terminal)。
- 如果你用的是 VSCode編輯器 或 Pycharm,可以直接使用界面下方的Terminal.
conda create --name manim python=3.8 # 創建虛擬環境
conda activate manim # 切換到此虛擬環境
pip install manimgl # 安裝manim
安裝完畢后在終端輸入 manimgl,會出現如下的界面,說明安裝完成。

2. Manim 基本使用
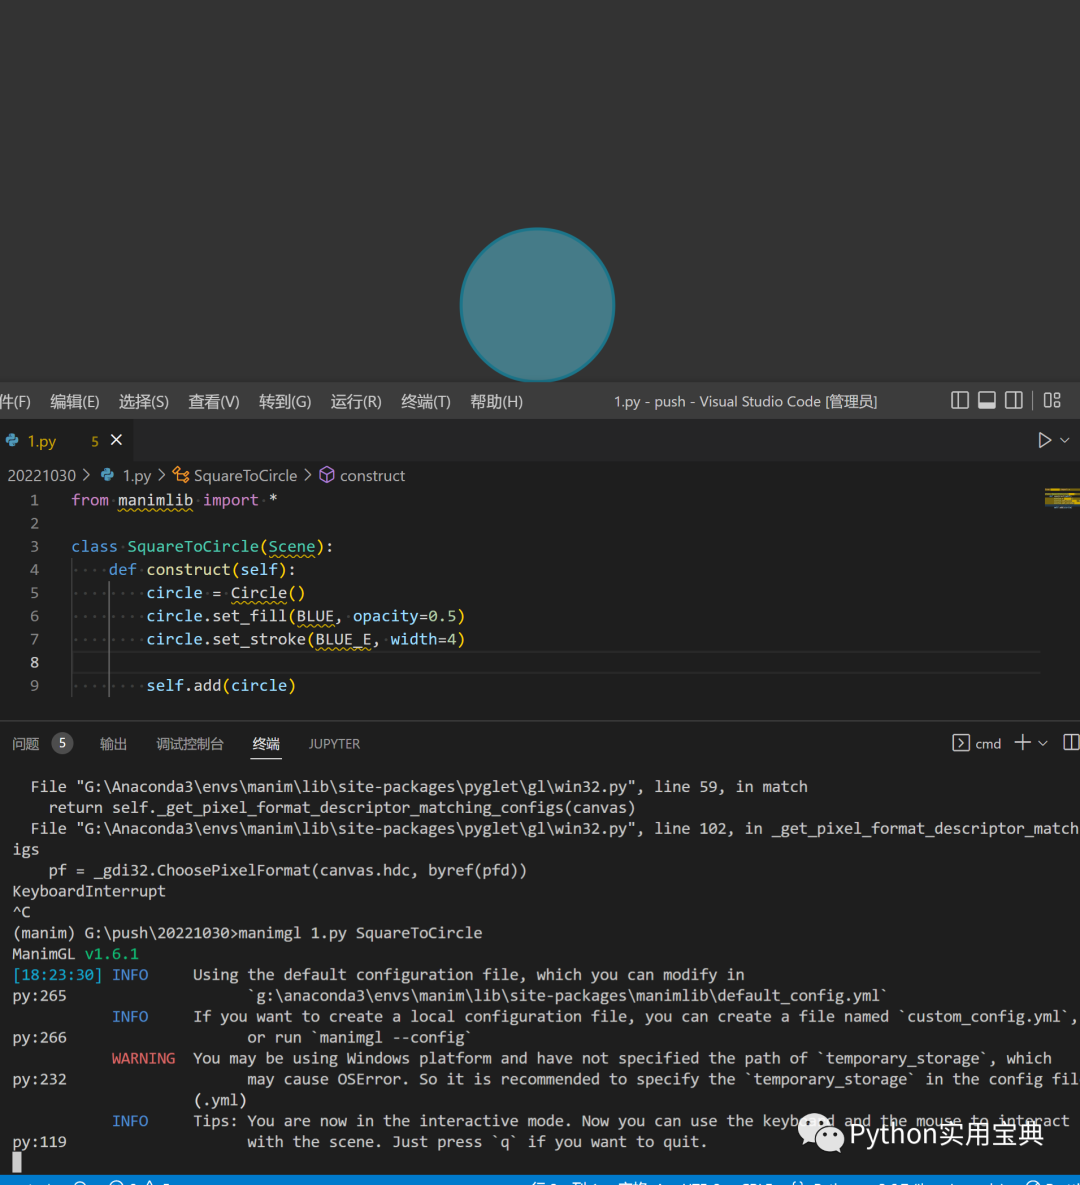
首先學會畫一個基本的數學圖形,如圓圈:
from manimlib import *

class SquareToCircle(Scene):
    def construct(self):
        circle = Circle()
        circle.set_fill(BLUE, opacity=0.5)
        circle.set_stroke(BLUE_E, width=4)

        self.add(circle)
編寫完畢后,在終端里敲下這行命令:
manimgl 你的py文件名.py SquareToCircle
就能彈出一個圖形界面,繪制完成:
你還可以操作彈出的這個窗口:
- 滾動鼠標中鍵來上下移動畫面
- 按住鍵盤上 z 鍵的同時滾動鼠標中鍵來縮放畫面
- 按住鍵盤上 f 鍵的同時移動鼠標來平移畫面
- 按住鍵盤上 d 鍵的同時移動鼠標來改變三維視角
- 按下鍵盤上 r 鍵恢復到最初的視角
最后,你可以通過按 q 來關閉窗口并退出程序。
接下來,我們學習如何讓圓形變成方形:
# 公眾號: Python實用寶典
from manimlib import *

class CircleToSquare(Scene):
    def construct(self):
        square = Square()
        square.set_fill(BLUE, opacity=0.5)
        square.set_stroke(BLUE_E, width=4)
        circle = Circle()

        self.play(ShowCreation(circle))
        self.wait()
        self.play(ReplacementTransform(circle, square))
        self.wait()
**ShowCreation: **演示圓圈繪制過程。
**ReplacementTransform: **延時從第一個參數的圖形變化到第二個參數的圖形的過程。
**self.wait(): **等待上個play操作執行完成。
終端運行命令:
manimgl 你的py文件名.py CircleToSquare
效果如下:

再來一個復雜一點的演示,增加拉伸、旋轉和變換:
# 公眾號: Python實用寶典
from manimlib import *

class CircleToSquare(Scene):
    def construct(self):
        square = Square()
        square.set_fill(BLUE, opacity=0.5)
        square.set_stroke(BLUE_E, width=4)
        circle = Circle()

        self.play(ShowCreation(circle))
        self.wait()
        self.play(ReplacementTransform(circle, square))
        self.wait()
        # 在水平方向上拉伸到四倍
        self.play(square.animate.stretch(4, dim=0))
        self.wait()
        # 旋轉90°
        self.play(Rotate(square, TAU / 4))
        self.wait()
        # 在向右移動2單位同時縮小為原來的1/4
        self.play(square.animate.shift(2 * RIGHT), square.animate.scale(0.25))
        self.wait()
        # 為了非線性變換,給square增加10段曲線(不會播放動畫)
        square.insert_n_curves(10)
        # 給square上的所有點施加f(z)=z^2的復變換
        self.play(square.animate.apply_complex_function(lambda z: z**2))
        self.wait()
**square.animate.stretch: **將圖形拉伸第一個參數的倍數,第二個維度指明方向,dim=0為水平方向,dim=1為垂直方向。
**square.animate.shift: **可以調整圖形位置和大小。
square.animate.apply_complex_function: 增加函數復變換。
效果如下:

3. Manim 坐標軸與函數圖像
想要實現函數圖像繪制,我們需要先添加坐標軸:
# 公眾號: Python實用寶典
from manimlib import *

class GraphExample(Scene):
    def construct(self):
        axes = Axes((-3, 10), (-1, 8))
        axes.add_coordinate_labels()

        self.play(Write(axes, lag_ratio=0.01, run_time=1))
運行以下命令顯示坐標軸:
manimgl 你的py文件名.py GraphExample

坐標軸繪制完成后,就可以開始繪制圖像了:
上滑查看更多代碼
class GraphExample(Scene):
def construct(self):
        axes = Axes((-3,10), (-1,8))
        axes.add_coordinate_labels()

        self.play(Write(axes, lag_ratio=0.01, run_time=1))

# Axes.get_graph會返回傳入方程的圖像
        sin_graph = axes.get_graph(
lambda x:2 * math.sin(x),
            color=BLUE,
        )
# 默認情況下,它在所有采樣點(x, f(x))之間稍微平滑地插值
# 但是,如果圖形有棱角,可以將use_smoothing設為False
        relu_graph = axes.get_graph(
lambda x: max(x,0),
            use_smoothing=False,
            color=YELLOW,
        )
# 對于不連續的函數,你可以指定間斷點來讓它不試圖填補不連續的位置
        step_graph = axes.get_graph(
lambda x:2.0 if x >3 else 1.0,
            discontinuities=[3],
            color=GREEN,
        )

# Axes.get_graph_label可以接受字符串或者mobject。如果傳入的是字符串
# 那么將將其當作LaTeX表達式傳入Tex中
# 默認下,label將生成在圖像的右側,并且匹配圖像的顏色
        sin_label = axes.get_graph_label(sin_graph,"sin(x)")
        relu_label = axes.get_graph_label(relu_graph, Text("ReLU"))
        step_label = axes.get_graph_label(step_graph, Text("Step"), x=4)

        self.play(
ShowCreation(sin_graph),
FadeIn(sin_label, RIGHT),
        )
        self.wait(2)
        self.play(
ReplacementTransform(sin_graph, relu_graph),
FadeTransform(sin_label, relu_label),
        )
        self.wait()
        self.play(
ReplacementTransform(relu_graph, step_graph),
FadeTransform(relu_label, step_label),
        )
        self.wait()

        parabola = axes.get_graph(lambda x:0.25 * x**2)
        parabola.set_stroke(BLUE)
        self.play(
FadeOut(step_graph),
FadeOut(step_label),
ShowCreation(parabola)
        )
        self.wait()

# 你可以使用Axes.input_to_graph_point(縮寫Axes.i2gp)來找到圖像上的一個點
        dot = Dot(color=RED)
        dot.move_to(axes.i2gp(2, parabola))
        self.play(FadeIn(dot, scale=0.5))

# ValueTracker存儲一個數值,可以幫助我們制作可變參數的動畫
# 通常使用updater或者f_always讓其它mobject根據其中的數值來更新
        x_tracker = ValueTracker(2)
f_always(
            dot.move_to,
lambda: axes.i2gp(x_tracker.get_value(), parabola)
        )

        self.play(x_tracker.animate.set_value(4), run_time=3)
        self.play(x_tracker.animate.set_value(-2), run_time=3)
        self.wait()
如果在運行的時候你出現了這樣的錯誤:

-
模塊
+關注
關注
7文章
2671瀏覽量
47341 -
python
+關注
關注
56文章
4782瀏覽量
84453 -
3d視圖
+關注
關注
0文章
9瀏覽量
10997
發布評論請先 登錄
相關推薦
[OpenHarmony北向應用開發] 做一個 loading加載動畫
![[OpenHarmony北向應用<b class='flag-5'>開發</b>] 做<b class='flag-5'>一個</b> loading加載<b class='flag-5'>動畫</b>](https://file.elecfans.com//web2/M00/A0/F4/pYYBAGRApgaAb90rAAw4QEZ-JTM958.gif)


 Manim:一個Python數學動畫開發模塊


評論